Tuesday, October 25, 2011

Grateful Greetings


I just love this time of year! As a matter of fact, it is my absolute favorite time of year! I love Halloween, Thanksgiving and of course I adore Christmas! So this is the beginning of the fun for me!

I love everything about this time of year, the colors, the brisk temperatures outside. Camping in the mountains and sitting by the warm campfire. I just love it all!


This card features a technique called emboss resist. By stamping on white card stock with clear embossing ink and clear embossing powder, the images will resist any ink applied to the card stock. It is a very easy technique but gives a great effect, don't you think?

If you have any questions about this technique, please feel free to email me!

Until next time...

GO GET YOUR FINGERS INKY!

Shelly

Sunday, October 2, 2011

Up and away!


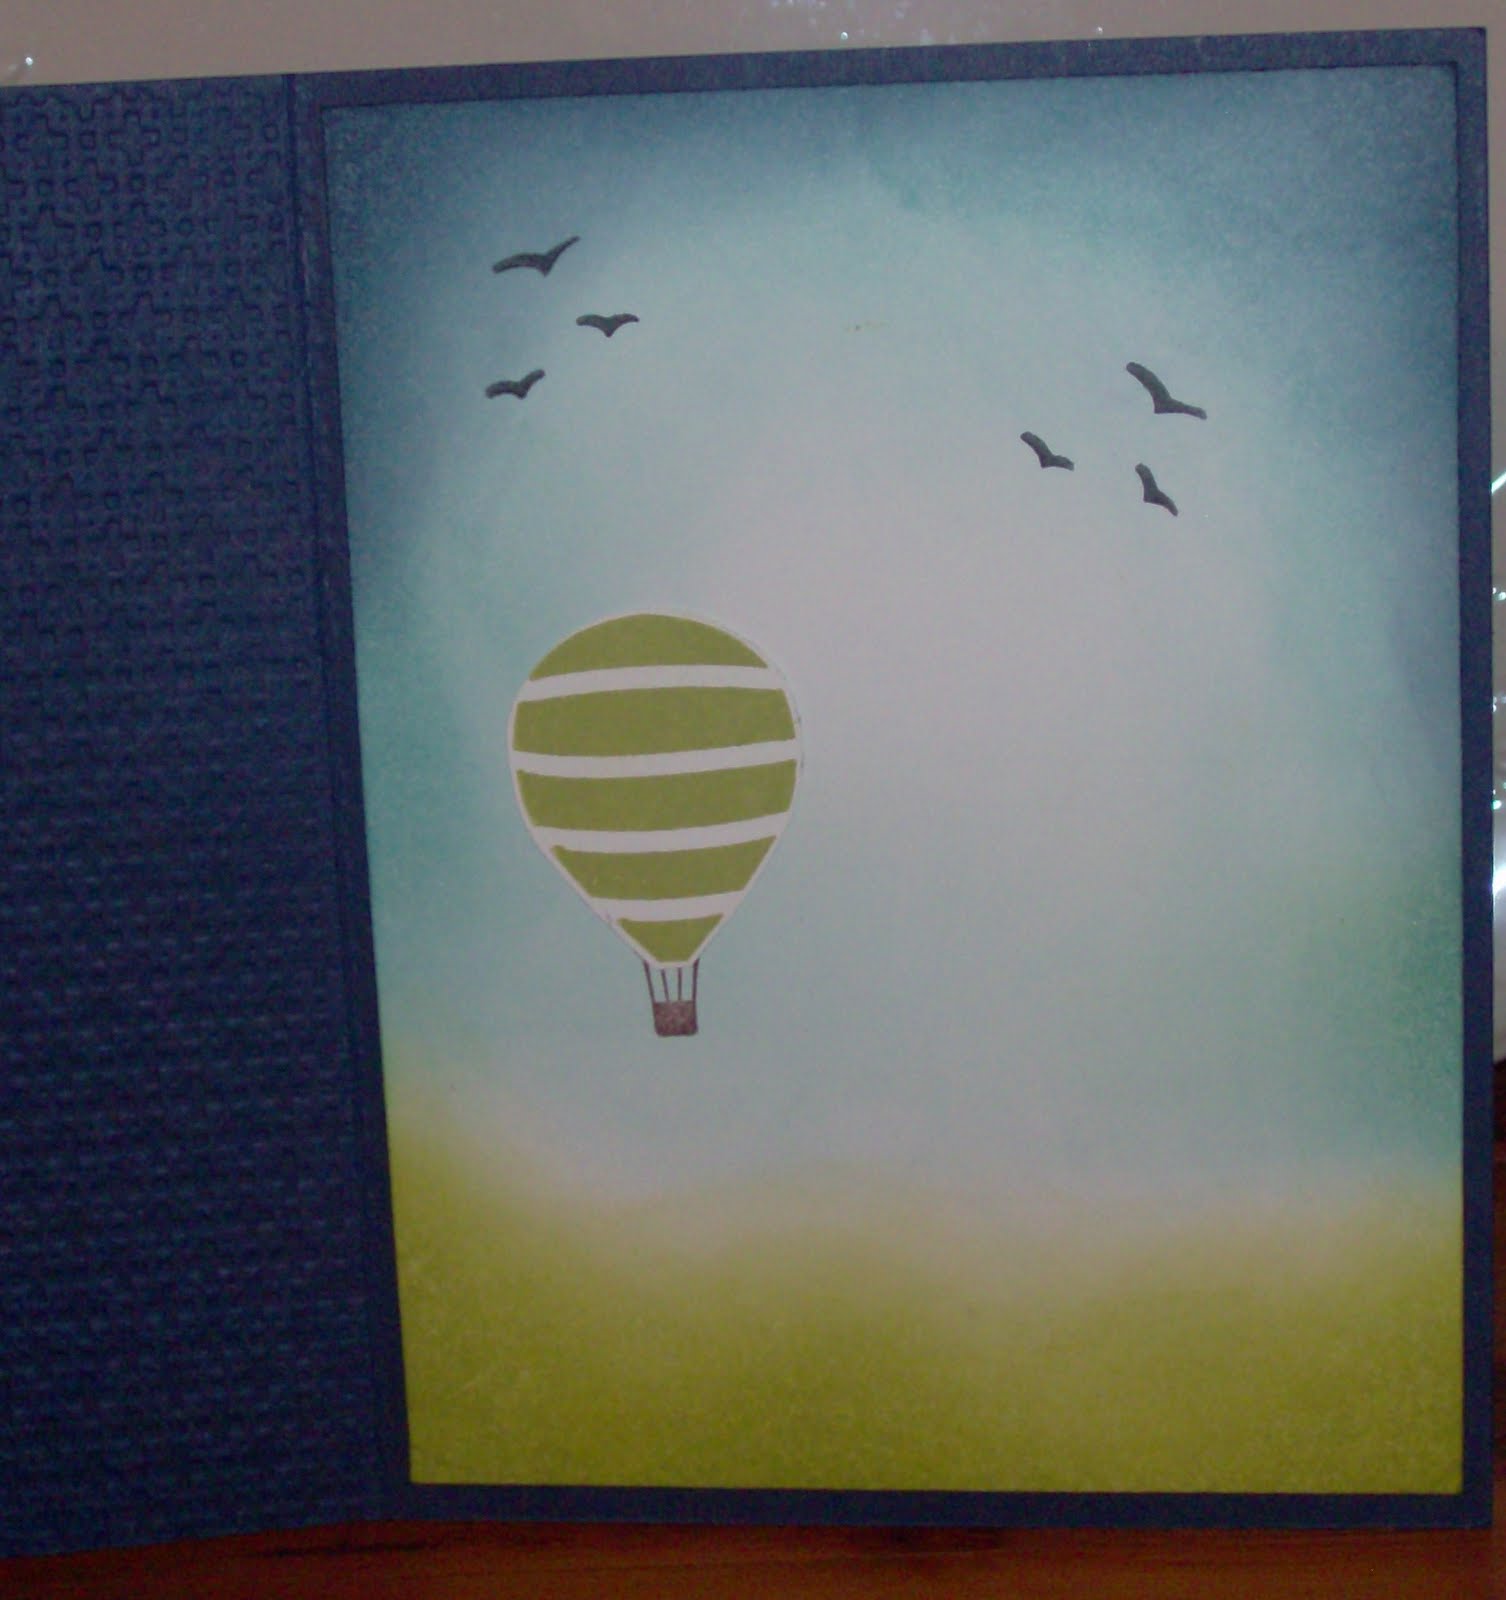
It is such a beautiful day today! The sun is shining, the birds are singing! It is nice and cool out side and it makes me just want to smile!


So, I thought today would be the perfect day to share with all my stamping friends, this card.


Doesn't this card make you wanna go pack a pic nic lunch, load the family into the car and head to the nearest park? Ok, sit down and take some deep breaths, the feeling will pass in a minute. LOL!


But seriously, here is a shot of the inside of the card. It seems to me that a lot of cards are fussed about on the outside, but we neglect the inside all too often.

I have been really working hard lately to try to make the inside feel less like the red headed step child. So I have been giving them more attention and I am happy with the results I have been getting.


But lets not forget that the inside of the card is not the only thing that gets neglected... That's right! The only thing that gets neglected more than the inside of a card is the ENVELOPE! So while you have all your stamps inked up anyway, go ahead and give the envelope a little bit of TLC! Not only will the person you are mailing the card to get a smile but the post office workers and mail carriers might get a much needed boost too!


Now you don't have to do elaborate work on the envelope, but a little somethin somethin here and there wouldn't hurt!


I hope you enjoyed this card, and until next time......

GO GET YOUR FINGERS INKY!

Shelly
Thursday, September 22, 2011

Last two

I thought that I only had one more card that I made with this set but it turns out I had two. So, instead of going back on my word...I decided to post them both in one blog post.
This is just a light and simply card that can be used for really any occasion. I sponged some blue around the top of the image and some green around the bottom. This just anchors the image so that its not just floating out there in space.


I wanted to show you a little bit of the detail that I added. Normally, I would just add several pearls all the same size but I thought it would be a nice little twist to put two sizes together.


And don't forget to decorate the inside of the card as well.


And this is the final card in the series... I'm not saying that I wont ever post another card using this set cause I'm SURE I will. lol But for now... this is the last one. I don't know what it is about this tree that is so appealing to me. I was in a craft store the other day with some friends and every stamp that I picked up consisted of branches that were similar to this tree. Who knows why...lol


And again, give the inside of your card a little bit of attention too. No one likes a naked card! LOL

Ok friends, until next time....
GO GET YOUR FINGERS INKY!
Shelly

Wednesday, September 21, 2011

Third card in series!

Here is the third card I made using this beautiful set.
I love how feminine this card turned out. Believe it or not... the ruffle around the silhouette is actually made using paper!


Here you can see a close up of the frame. I used the
Eyelet border punch (119853) on a piece of Beau Chateau Designer series paper (122357) then ran it through the crimper several times to really break it down. After I gathered it and attached it to the back of the frame (Designer frames embossing folder - 12310) I used a sponge and inked around the edges with Early Espresso ink (119670) to give it a worn and antiqued look. I also rubbed the sponge lightly on the frame its self to make the details of the frame a little more visible.


I hope you are enjoying these cards as much as I did making them. I believe there is ONE more in the series and then I will move on to something else. I'm sure by that time, you will be ready to see something new too!

As always, if you have any questions, feel free to email me or leave a comment on this blog post.
Until next time,
GO GET YOUR FINGERS INKY!
Shelly

Sunday, September 18, 2011

Forever young


My last entry, I told you that I picked another set to use that was not my style. Over the next few days, you will see what I have done with the set. This is card number 2 in the series of this set.


This set really lends its self well to this color scheme. It works great with antiquing. Which just happens to be one of my favorite styles. RIGHT NOW anyway. lol

Sets used:

Forever Young - 122572

Word Play-120651

Card Stock:

Early Espresso - 119686

Crumb Cake - 120953

Very Vanilla - 101650

DSP- Beau Chateau - 122357

Misc.:

1" circle punch - 119686

3/4 " circle punch - 119873

Top note die- 113463

Big Shot - 113439


This shows the inside of the card.. Now it is very hard to see but I used very vanilla card stock and sponged some crumb cake ink around the edges then I inked the clock stamp with crumb cake and stamped off onto some scratch paper then stamped onto the vanilla so that there was just an ever so slight image. It just finishes the card off.


Until next time friends...

GO GET YOUR FINGERS INKY!

Shelly

Friday, September 16, 2011

Happy Birthday!

To my sweet friend Cheryl!
I have absolutely fallen in love with this set as you will see over the next several days! Again, I have gone outside of my box and picked a set that I normally would not have given a second glance at!

Once I started playing with this set, I couldnt stop. Alot of times, I will use one or two stamps in a set but this set I have used them all but one! Fear not though, I am sure that in time, I WILL use the final stamp as well. lol

I hope you enjoy this card and the others that will follow in its inky foot steps!

Until the next time... Another big happy birthday wish to Cheryl and to the rest of you....

GO GET YOUR FINGERS INKY!!!!

Shelly

Thursday, September 1, 2011

Finally!

I finally did another video! I have been wanting to do one for a while but goodness gracious doesn't life just seem to get in the way sometimes!
I had fun making this tutorial.... oh who am I kidding! I have several bald patches in my head now! LOL But I finally got it figured out, edited and uploaded! So I hope you enjoy it! Make sure to leave a comment after and if you make a side step card and would like me to share it on my blog, email me your link!
Until next time stamping friends....
GO GET YOUR FINGERS INKY!
Shelly