Thursday, May 27, 2010

Tutorial for Desk top caddy


Thank you everyone that emailed me with all your sweet comments about my desk top caddy.


Many of you asked for a tutorial so here it is!


I thought that I would share my inspiration with you. So here is the "real" organizer next to my card stock organizer! As you can see... mine is MUCH smaller than the original but I guess you could tweak the measurements to make a larger organizer if you like!


Part 1 of Caddy

Step 1:

card stock is 8 1/2 x 5 1/2.

with the 8 1/2 inch side at the bottom, score at 1 and 7 1/2 inches. Rotate once and score at 2 1/4 and 3 1/4.


Step 2:

Cut on score lines as shown.

Add red line tape to front two flaps.

You can't see it in this picture but you will also want to add tape to the back of the little flaps as well.


Step 3:

Assemble box and set aside for time being.


Part 2 of Caddy

Step 1:

card stock is 10 1/2 x 7 inches

With 10 1/2 inch side at bottom, score at 2 and 8 1/2 inches.

Rotate card stock one time as score at 2 inches.


Step 2:

Create the diagonal side.

Using a ruler, measure 4 1/4 inches from bottom of card stock on both sides. Draw a pencil line from score line to 4 1/4 inch mark. Cut on this line and remove tab.


cut on score lines from bottom of card stock up to the 2 inch score line.


Step 3:


Add red line tape to back of flaps as shown. Assemble bottom of caddy.


Step 4:

Add red line tape down both sides and across the bottom edge of caddy.


Step 5:

CAREFULLY place part one of caddy on the bottom edge of part 2 of caddy. When you have all three edges lined up, press firmly to adhere together.


Step 6:


Complete your caddy by scoring a 10x1 inch piece of card stock at 3, 5 and 7 inches. Add adhesive to inside mountain and insert into front half of caddy to make divider.


This is what your finished caddy will look like before you decorate it!


Thank you again for your interest in my caddy.
If you make one of your own, please let me know. Maybe I will feature your caddy on my blog!


Also be watching... I am going to be playing around with this pattern to see what else I can come up with!


Until then, have a great stamping day and...

GO GET YOUR FINGERS INKY!

Shelly

Stamp club cards


The first Tuesday of every month, I have stamp club at my house.
I always look forward to Stamp club because first and foremost, these ladies are my friends and I just love getting together with them. But aside from that, there are some amazing stampers in my group!
This is quite the eclectic group. We all have very different tastes when it comes to our stamping styles and for this reason, we have a monthly card swap with themes.
The theme for May was a NO LAYER card! Boy did I have fun with this theme. I teased my girls for a whole year about this months theme! I thought some of them were going to lose their creative minds! lol
Anyway, I thought I would share a couple of the cards with you ! The first card is mine. I guess I would call it a grid card? Lots of masking and measuring for this little card but I like the look I got with it. Not exactly my typical style but that is another great thing about the themes.... it makes us think outside of our comfort zone.


This next little card is much cuter in person than it is on this blog. Unfortunately, I did not get a good shot of it with my camera.
But this card, created by Wendy is done with bleach and a white ink pad and gel pen! Cute cute!


This card was created by Lucille. What you may or may not be able to tell is that there is a square cut out in the top right corner and the lemon is actually stamped on the inside of the card!


And sometimes one is never enough and those creative juices just get flowing so much that you have to create a second card for a swap!
That's right, this little cutie was also created by Wendy!
She also used masking to create this card.
I hope we have inspired you to try something out of your comfort zone!
Until next time...
GO GET YOUR FINGERS INKY!


Wednesday, May 26, 2010

Spinner card


This is a fun, interactive card that anyone would love to receive. In this short tutorial, I hope to give you the basics on how to make one.
This is what the card looks like when finished. If you tilt it from side to side, the bumble bee will spin.


Step 1:
Prepare your base card. This is just like any other standard card you
would make. 4 1/4 x 5 1/2


Stop 2:
Create your "spinner"
For this particular card, I used the circle scallop punch and two circle punches layered on top of each other.


Step 3:
Next you will create the spinners "path".
To do this, you will use a 1/2 inch circle punch to punch two holes in your card stock. Make sure they are equal distance from top to bottom of card stock.
To insure that I was even, I drew a line with pencil through the center of my card stock


Step 4:
Using your cutter or a craft knife and ruler,
Cut from outside edge of circle to other circle at
the other end of the card stock. Do this on both sides of the circles. The center piece should fall away.


Step 5:
Place stampin' Dimensionals along the outside edges of the slide. Make sure to stay along the outside edge as much as possible so that you don't hinder the spinner.


Step 6:
Using a glue dot (or 3 or 4) adhere a penny to the back of the spinner piece. Add a stampin' dimensional to the penny


Step 7:
Place spinner against the slide with the penny on one side and the dimensional in the opening. Attach a second penny on other side of slider as shown. Think of it as a sandwich. Spinner, penny, dimensional, penny.


step 8:
Peel backing off dimensionals and attach slide to base card as shown.

Step 9:
ENJOY!
If you have any questions about this tutorial, please feel free to leave a comment! I will be happy to answer any questions you may have!

Sunday, May 23, 2010

Stamp Till You Cramp!

Every once in a while, two or three times a year, I have what I call a Stamp till you cramp or STUC!


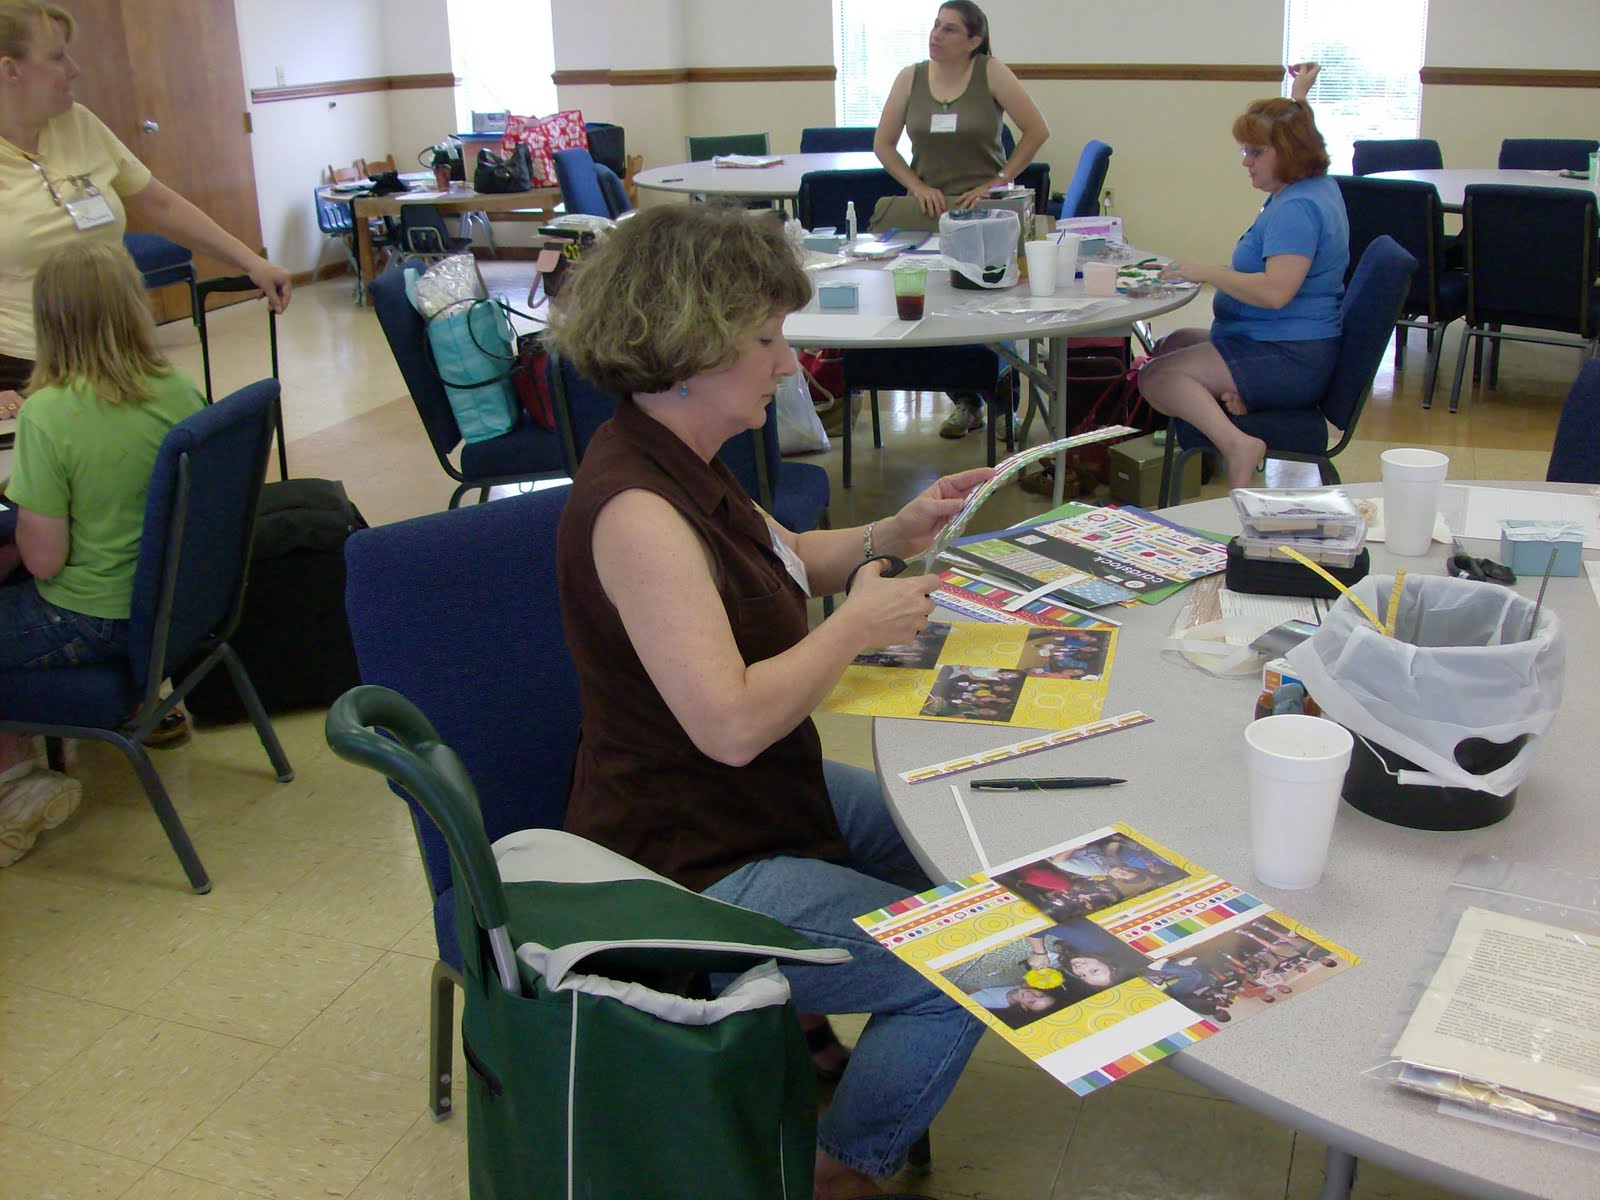
Yesterday was my latest STUC! We had a great time and I thought I would share a little bit of that with you.


I always try to make name tags for all the ladies that coordinate with the project we are doing for the day.


The main stamp set that I chose to use this time was the Vintage Vogue from the occasions mini catalog. Which I am happy to say, Stampin' Up! has decided to carry this set over. I love using this set. It is very versatile!


Here is an up close look at one of the name tags! Lots of flower for this STUC! As you will see later when I show you the actual projects. I heard through the grape vine that people were getting hand cramps from all the flowers they had to cut out. LOL Sorry ladies!


These are the thank you gifts that I made for my guests! They are divided into three sections on the inside and are filled with Chocolates and hard candies! Aren't they just the cutest little boxes!


Now onto the projects~

Normally, I will scour the Internet looking for ideas for projects to make with my girls. But this time, I found the inspiration I needed on my very own kitchen counter.


One day I was bringing the mail in... which consisted mainly of bills... boo hiss!


As I was putting them into the bill holder on the counter, I started looking at the divided organizer and I thought to myself... I could make one of these! And I could fill it with FUN things instead of bills!

So I got my paper out and started playing around with dimensions and came up with this divided organizer or Desk top stationary caddy.


Inside, it has three different compartments. In the front, I put three 3x3 mini cards and a covered post it note holder. In the back compartment, I added three more standard size cards but all three had different folds. Then I decorated the front of the caddy to match the cards that were on the inside! To make the standard size cards, I had the girls do a one sheet wonder and cut it apart. This set really does make some pretty cards!


This is just a quick picture showing how I set up the stamping station. All the goodies laid out nice and neat. HAHAHA! It doesn't stay that way for long though! Kinda like my stamping area at home! Starts out nice and neat but sure doesn't stay that way!


See, I told you! lol
This is Lucille and Leeann. Both are very involved in the project!


Here are some candid shots of everyone working and having fun!


Here we have Joey and Donna... working away!


This is Cheryl, she is working hard on a beautiful 50th wedding anniversary album for some very special people!


Next is our mother/daughter duo~ Deirdre and Oonagh. Oonagh learned how to tie a mean bow! Way to go mom!


Below is Cathy, Leeann , Priscilla and Joey all hard at work!


and finally, we have some Yummy food to give us energy because with all the stamping these ladies were doing... THEY NEEDED IT!
Thanks for taking time to stop by today!
Until next time... GO GET YOUR FINGERS INKY!

Thursday, April 15, 2010

Photo wallet


Happy Thursday everyone! One more day and then we made it to the weekend!

I wanted to share with you a project that we did at my Tuesday night club.

This is a photo and gift card wallet. I saw something similar out on the web and thought, Hmmmm, that would be cool to add some photo sleeves to and make it a photo wallet.
So off to the local sports card shop I went! I bought team bags and used them for the picture holders. When you look at them, they look exactly like miniature versions of Stampin' Ups clear envelopes! There is no stamping in this project but it does use designer series paper and some designer brads. If you were sending this to some one special, you could really jazz it up. As a matter of fact, my friend and I were playing around and we added one of the flowers that I did a tutorial on yesterday. It looked super sweet! Obviously, you cant send it through the mail unless you put it in a box but if you were going to hand deliver it, how cool!
I thought I would sneak a few pics of my family in here.... this was on our Florida vacation last week! We had a wonderful time and have some great memories to last us a long time!

And speaking of yesterdays tutorial, I want to thank everyone who left me a comment. I had a lot of positive feed back on the tutorial. I will definitely be doing more pictorial tutorials in the future... so be watching for them!

Thanks for visiting with me today and until next time...
GO GET YOUR FINGERS INKY!
Shelly


Wednesday, April 14, 2010

Flower tutorial

I thought that I might try something different today! Since my hubby is at work and I don't know how to upload videos with his program, I thought I might try a pictorial tutorial. So here goes!
First you will need to gather all your supplies. For this flower, you will need:
card stock color of your choice
ink pads and sponges, paper piercing tool and mat pack, Scallop circle punch, mini glue dots and brads. You will also need a water bottle.

You will start by punching eight scallop circles.


I used apricot appeal card stock and then sponged pumpkin pie ink to give the petals some dimension.


Next, you will want to spritz each scallop circle LIGHTLY
with water. Do not saturate the card stock. You are only wetting it enough to make it a little more pliable. This flower can also be made with designer series papers but you will want to skip this step as the Designer paper is much thinner than the card stock and you will risk tearing it if it is wet.


Moving on.... you will crumble all eight of the scallop circles and then un crumble them.

Do not worry about trying to flatten them out or straighten them up. You want them to look weathered and ragged.


Stack the scallop circles on top of each other but don't worry about lining the scallops up exactly. Don't fuss too much with this step, again, you want it to look weathered and imperfect. Now, using your paper piercing tool and the foam mat from the mat pack, poke a hole through the center of the scallop circles. *or at least as close to the middle as you can. We are still not looking for perfection here! Insert a brad to hold the petals together.


Starting with the top layer and only doing one layer at a time, squish *how do you like that technical term* each layer to the center.


Your flower now should look like what we here in the south like to call "a hot mess" lol But don't worry, I promise, in the next step it will start to look like a beautiful flower!


Once you have all the layers squished to the center, slowly and carefully start spreading the layers back out. Do this until you get the desired look.


For a little more pzazz, I free handed a green leaf. Sponged it with old olive ink and then distressed it and inked it again. Using my paper piercing tool, I wrapped the leaf around it to give it some body. Kinda like curling ribbon. I then attached the leaf to the flower using mini glue dots.


I added my flower to this Little treat box with a large glue dot.

And that is all there is to it! How easy and fun was that! I hope you have learned something from this tutorial and would love for you to go make one of your own and then leave me a message in the comments section with a link to come look at yours!
As always, if you have any questions, I am always happy to answer them!
Until next time Stampin Friends,
GO GET YOUR FINGERS INKY!
Shelly