Monday, June 4, 2012

Another Fathers day card!
This is card number two in the Masculine card series. I am using the same stamp set and designer series paper.  Now that the new catalog is up and running, I will be able to find some new designer series papers to play with!

On the inside, I made sure to leave enough room for a special message to dad!
Until next time,
GO GET YOUR FINGERS INKY!
Shelly

Friday, June 1, 2012

 Happy Fathers Day!          

I have been working on several fathers day cards recently and some masculine birthday birthday cards as well. So here is the first in a series of several.
The designer series paper  that I used in this card sadly is no longer available but the set that I used can be found in our brand new shiny 2012 - 2013 Stampin' Up! catalog. It is called "The Open Sea". (123032 on page 104)           
  

Again, I have been trying to do give my cards some interest on the inside to pull it all together. I have really been enjoying the challenge of tying the whole thing together!
Until next time,
GO GET YOUR FINGERS INKY!
Shelly

Saturday, April 28, 2012

Spring has arrived and it has overflowed into my card making! 
Actually, there really isn't too much stamping done on this particular card. Most everything is done with punches or Framelets.

I just love this little bird! With a little sponging around the edges, he really pops off the page and comes to life!

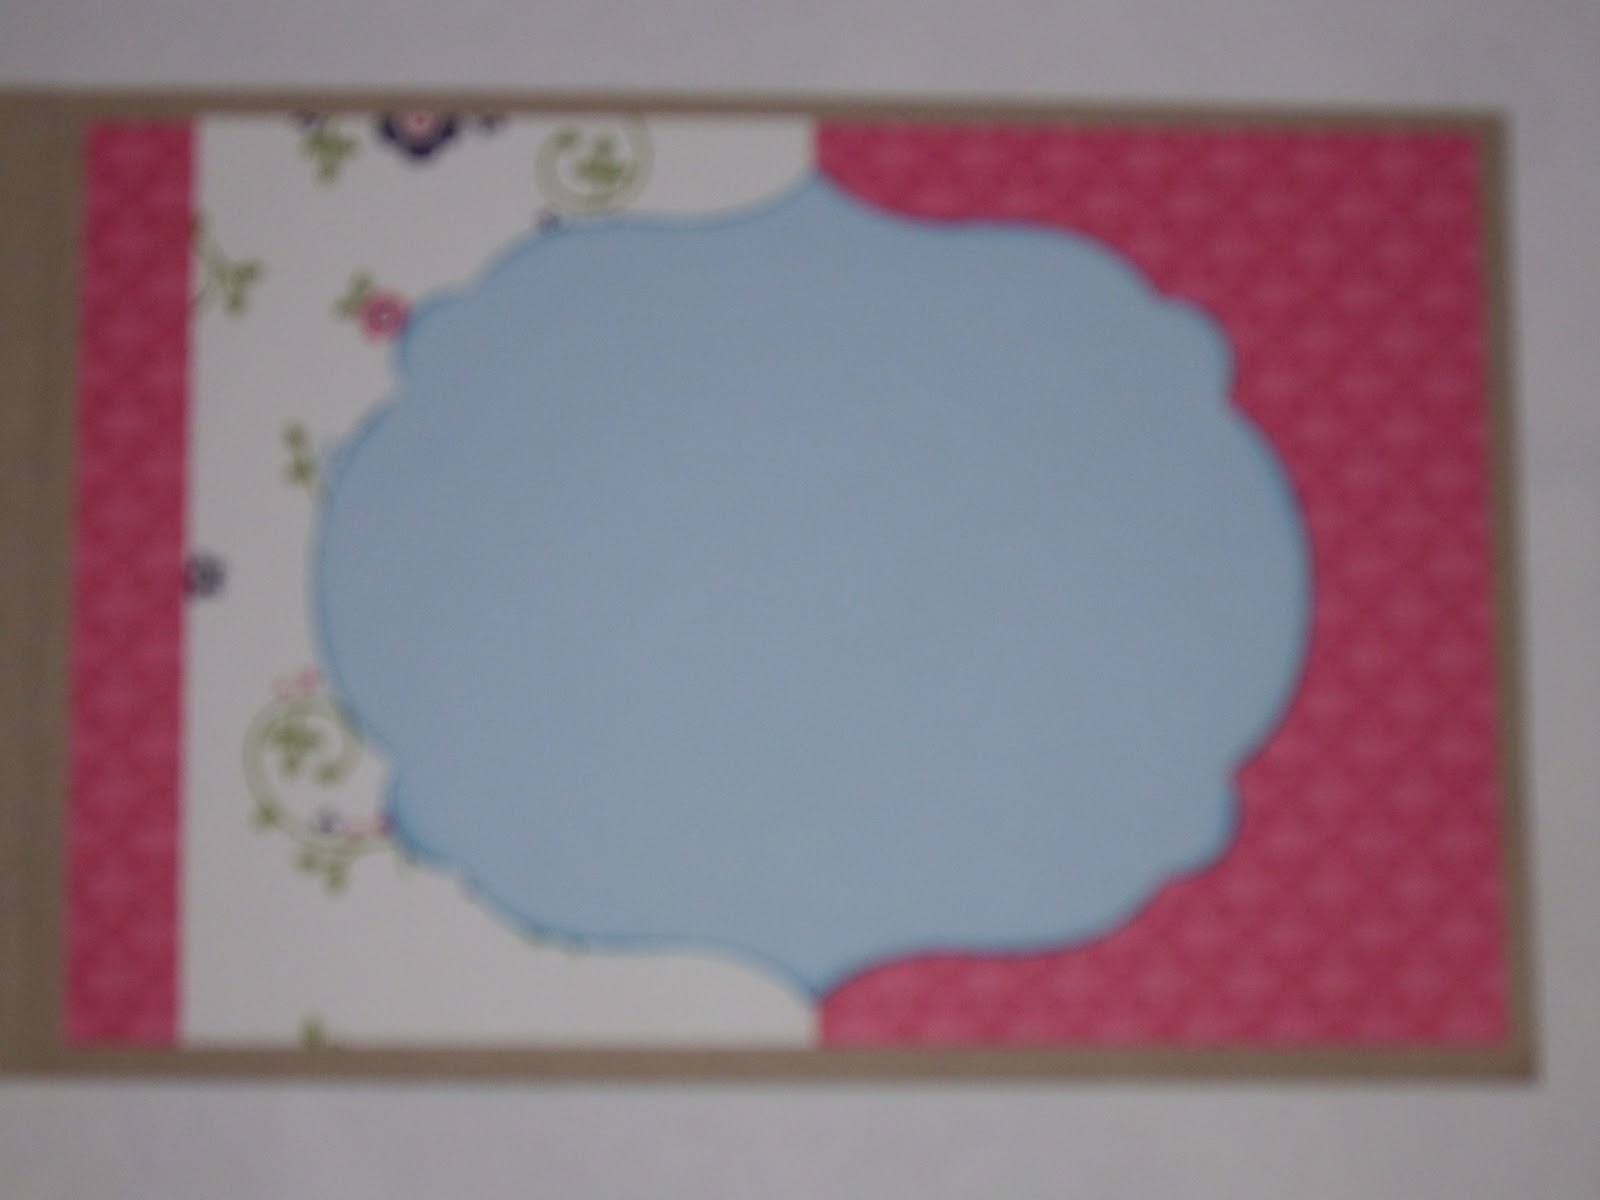
Again, I am trying to carry the outside of the card over to the inside of the card. This is new for me but I think I am getting the hang of it. The hardest thing for me to do is picking papers that look good together without being too busy! The good thing is that Stampin' Up! takes care of most of that for me by offering paper packs that fit together wonderfully! Until next time stamping friends,
GO GET YOUR FINGERS INKY!

Thursday, April 19, 2012

Simply said, MOM!

So far, I have made a few different mothers day cards. This is the first one.    Don't you just love pink and brown together? It is one of my favorite combinations! I added a little strip of designer series paper to the bottom portion of the card to add a little extra color. This particular paper comes from the hostess pack of Designer series paper.


This is the inside of the card. Again, I added a small strip of designer series paper to pull the outside and inside of the card together.                                                               

Until next time,
GO GET YOUR FINGERS INKY!

Monday, April 16, 2012

I'm Cornered!

OK, I'm not REALLY cornered but I did make this cute little corner bookmark!
Actually, I have several of them floating around my house now! lol They are so cute and simple to make that I have one for my catalog, my daily devotion book and the book on my nightstand that I haven't picked up in I can't tell you how long!
Here is a look at how it fits on the book corner.
This keeps me from dog- earring my pages or stuffing a tissue or receipt in my book! lol
As always, if you have any questions, please feel free to email me at: stampmomx2sc@comporium.net
Until next time,
GO GET YOUR FINGERS INKY!
Shelly

Friday, April 13, 2012

GREEEAAAT!


Oh my gosh! Isn't this poor little bear in a pickle?
I made this card with my club girls this month and I thought, what a perfect card to post on FRIDAY the 13th!
This is what is called a side step card. I have posted cards like this on my blog in the past but there are so many different styles you can do that they all end up looking different!
They are supper fun and quite easy to create,
once you make one and get the basic layout
done, you will be able to make these cards
lickety split!
Here you can see a little close up of bear and his trouble making friend raccoon! I don't know where they got into that string but they sure have made a mess of it! LOL~
At this angle, you can see how the side step works a little better. For this card, I took a standard 5 1/2 x 8 1/2 piece of card stock.. just like I would for a standard fold card. I put the 5 1/2 inch side along the bottom of my cutter and moved it over to the 2 1/2 inch mark. I then cut from the 1 inch mark all the way to the 6 1/2 inch mark. Then I moved on to the simply scored tool. I placed the long side against the top of the simply scored with the 3 inch wide piece at the top against the top edge of the score tool. I scored at 4 1/4 just to the cut line. I then flipped the card stock over so that now the 2 1/2 inch side was along the top and I scored at 1 inch, 2 inches, 3 1/4 inches,4 1/2 inches and finally at 6 1/2 inches. Then I folded the left side (the 4 1/4 score line) in a mountain fold. On the 2 1/2 inch side, I started with a mountain fold, then valley, mountain, valley and finally a mountain fold. That is the basic shape of the card. Now all that is left to do is decorate it!
I would love to see what you come up with! Please email me or leave a comment with your blog link in it so I can see your creations!
And as always, please feel free to contact me if you have any questions!
Until next time,
GO GET YOUR FINGERS INKY!
Shelly

Tuesday, January 17, 2012

Gnome doubt about it!


This set is adorable! I am not generally a huge fan of Gnomes, but when I saw this set, I just knew I had to have it!


Do gnomes live in trees? I don't know if they do or not, but this one is hiding out in one anyway!


Along with the Gnome sweet Gnome set (126537) I also used the wood grain back ground stamp. (117100) I really like this background stamp but don't get to use it as often as I would like so this was the perfect opportunity to be able to use it! For the leaves of the tree, I used the scallop circle punch (119854) and layered them on top of each other and cut the excess off the sides and top. For the saying, I used Gnomenclature (127059) and the Decorative label punch (120907) which I reinserted into the punch and cut in half to make a punch that fit my words. I used the Heart to Heart punch (119881) to give you a sneak peak at some designer series paper that will be offered in the sale a bration catalog at the end of this month!

And here you can see the little fella on the inside of the card holding a heart just for that someone special!


I hope you enjoy this card as much as I do!

Until next time,

GO GET YOUR FINGERS INKY!

Shelly

Wednesday, January 11, 2012

Double-Triple shutter album

A friend of mine asked me to do a class for her and some of her friends. I was excited to be able to use our new Framelets Dies, Labels collection (125598). It is so pretty and I am finding out that it is very versatile! This is the outside of the album. How it would look when it is closed. Normally, it would have a ribbon tied around it but I took it off to take the pictures and forgot to put it back on. (oops!)


  • This is what the album looks like completely open. In the next few photos, you will be able to see the different layers.


This is the first layer as you open the album. I did not add any pictures to my album. For one reason, this album is on the feminine side and my house is over run with boys... wont quite fit with the design Im afraid. lol


This is a close up of the inner flaps. I wanted you to be able to see the designer series paper and ribbon. This is going to be offered in the sale a bration catalog at the end of this month. Isn't the paper soooo pretty! I have used just about my whole pack already so I will be anxious to get some more!


again, just some more of the details.

The class went very well and everyone was able to complete the album with no problems.

It looks like a very complicated album to make but honestly it is not! I am working on a video tutorial for this album and will post it here and on youtube in the next several days so be watching for it!

Until next time,

GO GET YOUR FINGERS INKY!

Shelly